

build management
overview
the builds screen is where you manage everything related to your game's builds on spawnd. uploading, testing, reviewing, publishing; it all happens here. every web build that runs on spawnd passes through this screen before reaching players.
what you can do here
each of these actions has its own dedicated doc with detailed instructions:
- upload builds
- download previously uploaded builds
- monitor builds' status
- test uploaded builds
- archive and unarchive builds
- request a review for release candidate builds
- publish builds
screen layout
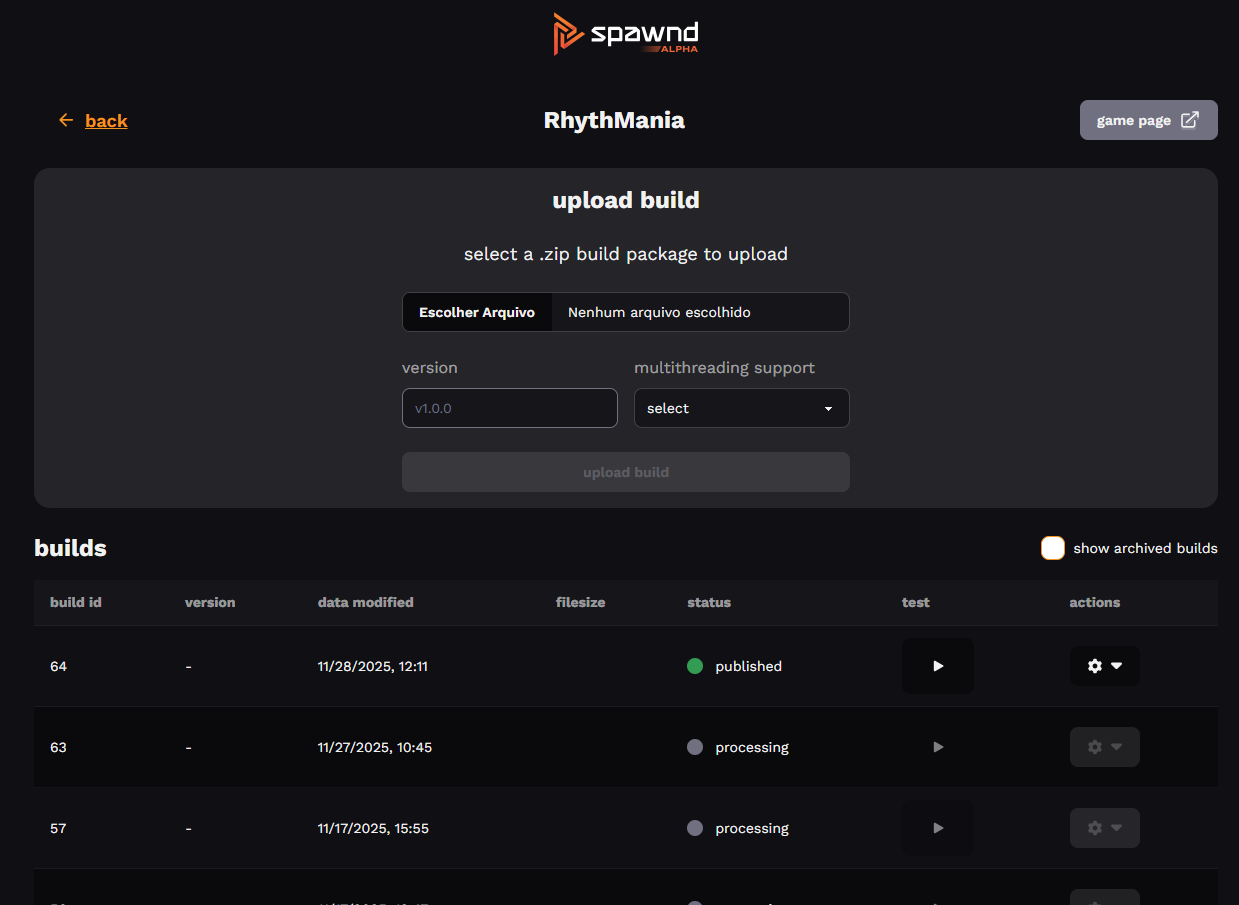
at the top of the page, right below the game name, you'll find the build upload component.
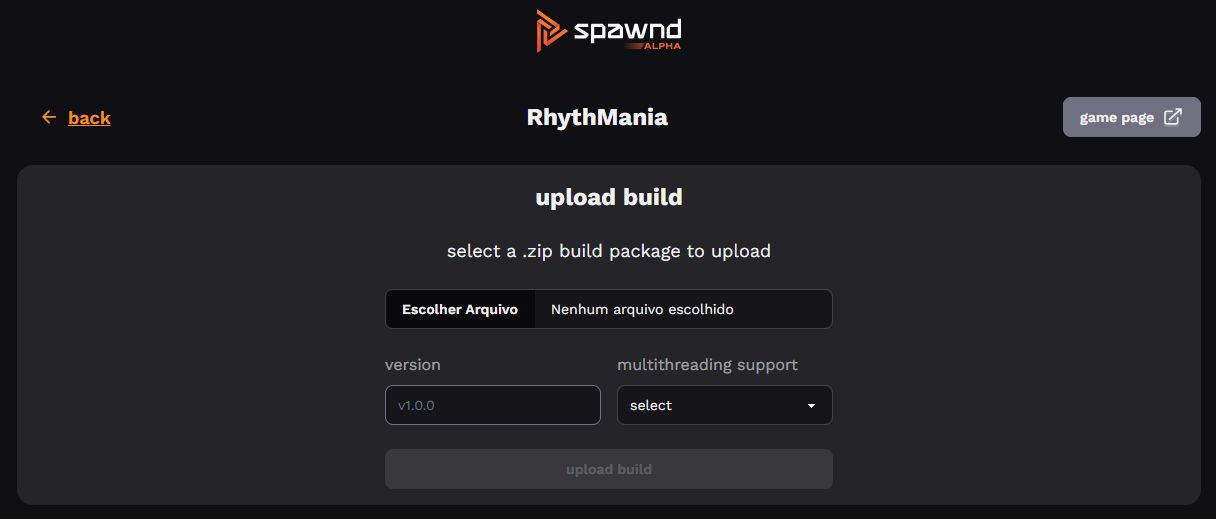
here you can upload a .zip file, set a version name (optional), and choose the threading mode for that build.
right below is the builds list:
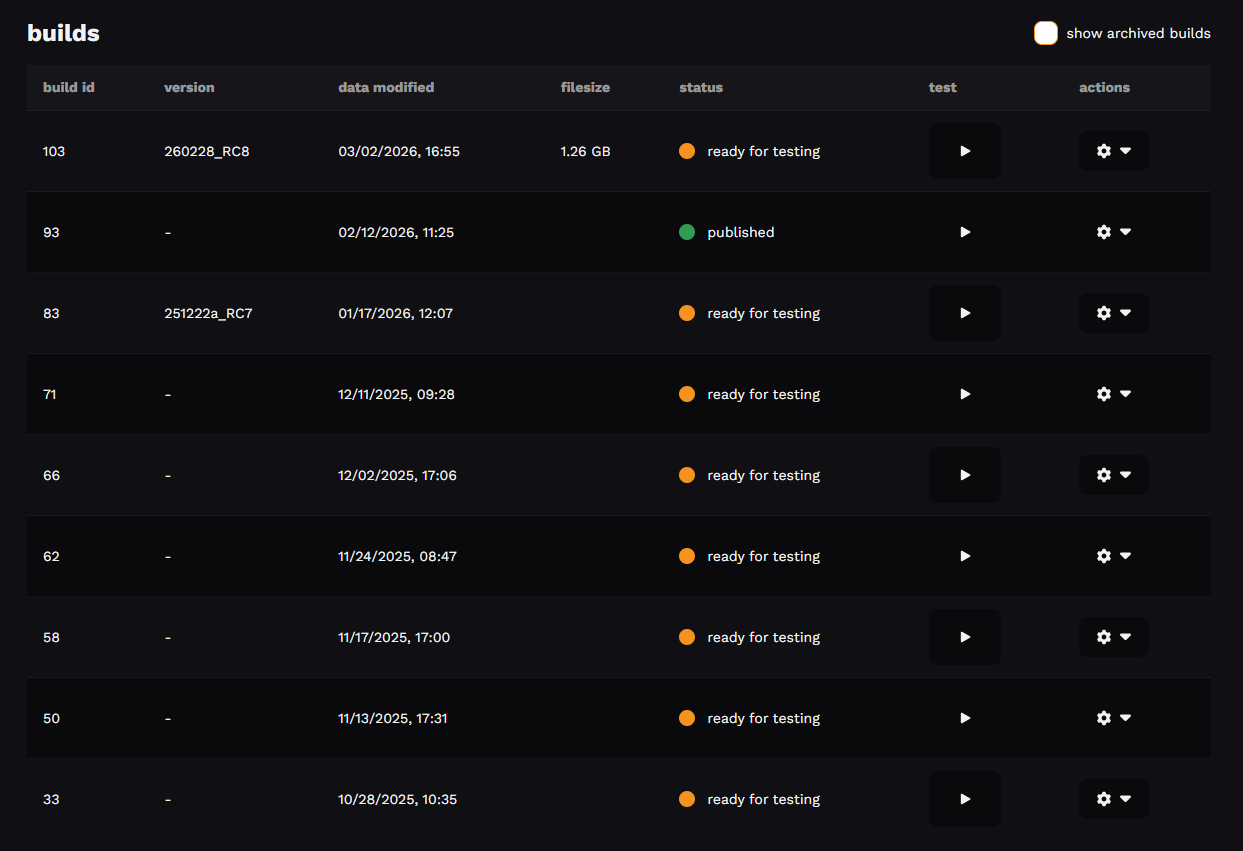
each row in the table represents a build and includes:
| column | description |
|---|---|
| build id | unique identifier across all of spawnd |
| version | optional label for your own tracking |
| date modified | when the build was last updated |
| filesize | size of the uploaded .zip file |
| status | current pipeline stage – see all statuses |
| test | opens the build in the test environment |
| actions | context menu with available operations |
archived builds are hidden by default. learn more about archiving.
actions menu
each build has an actions menu. available actions depend on the build's current status.
| action | description |
|---|---|
| download | get the original .zip file |
| request review | submit the build for approval |
| publish | make an approved build live |
| archive / unarchive | show or hide the build from the list |
common flows
getting a build live
- upload your build
- wait for processing, then test it
- request a review from spawnd's team
- once approved, publish
replacing a published build
- upload and test the new build
- request a review and get it approved
- publish the new build — the previous one moves back to approved automatically
best practices
archive old builds to keep your list focused, and use consistent version names so it's easy to tell builds apart. it's also a good idea to always test before requesting a review — it saves time and increases your chances of getting approved on the first try.